Tuesday, May 3, 2016

Radio silence...

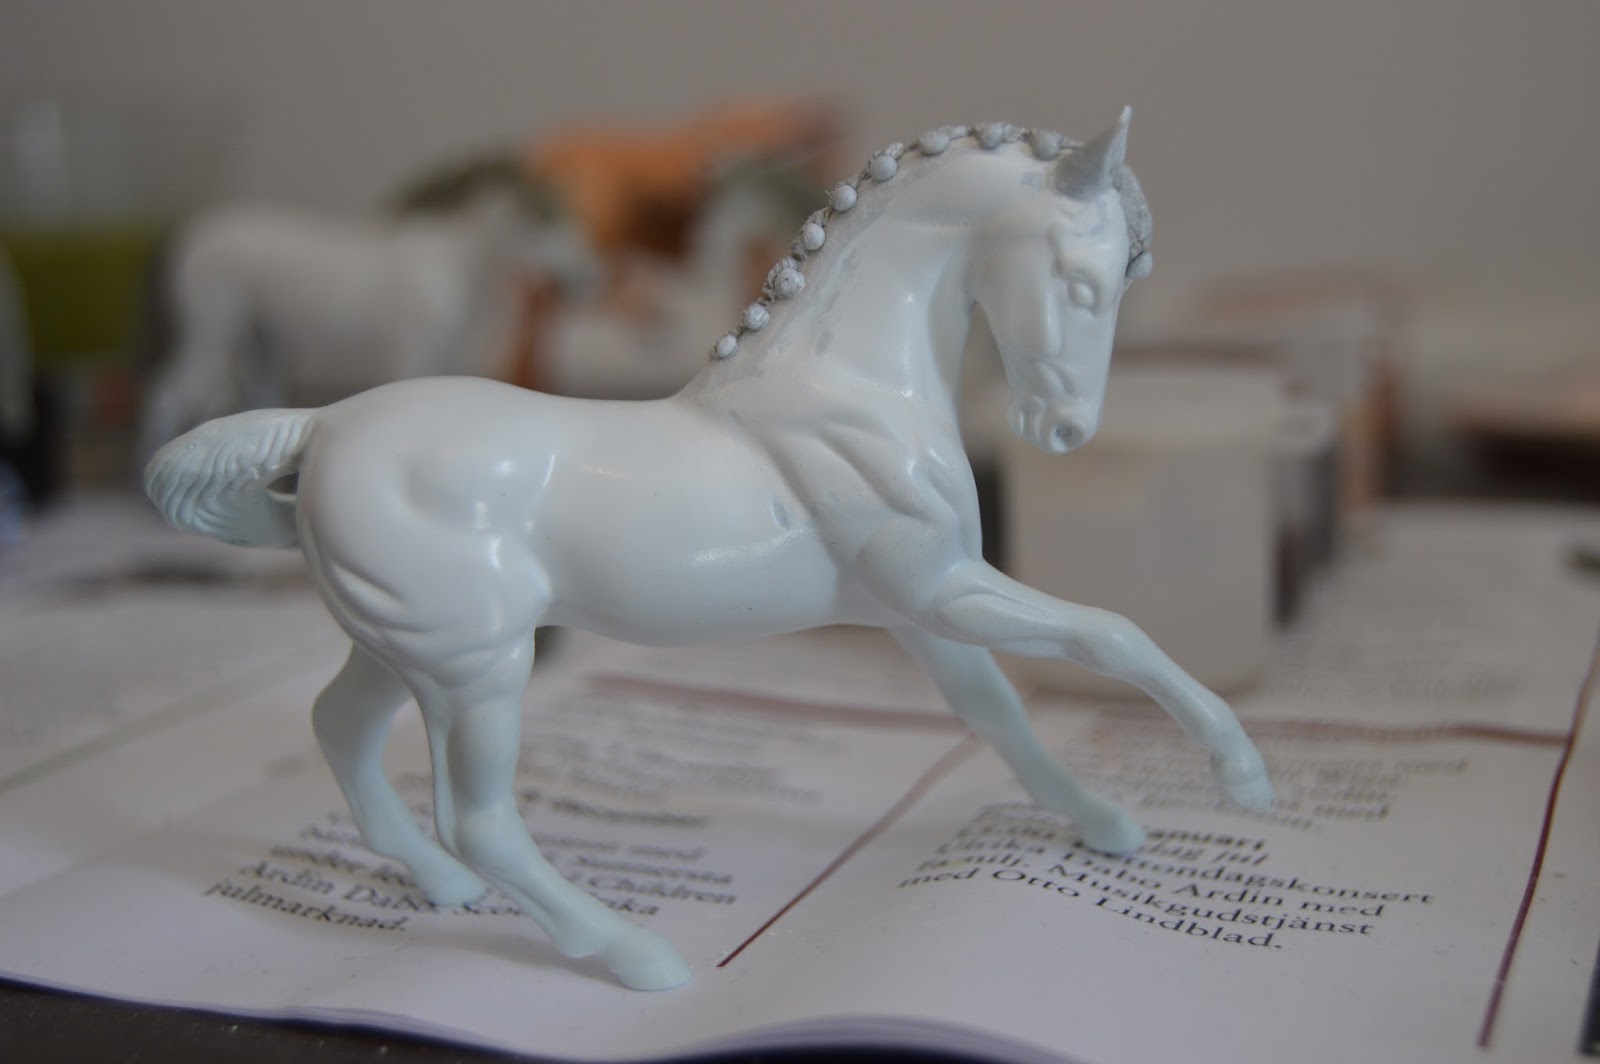
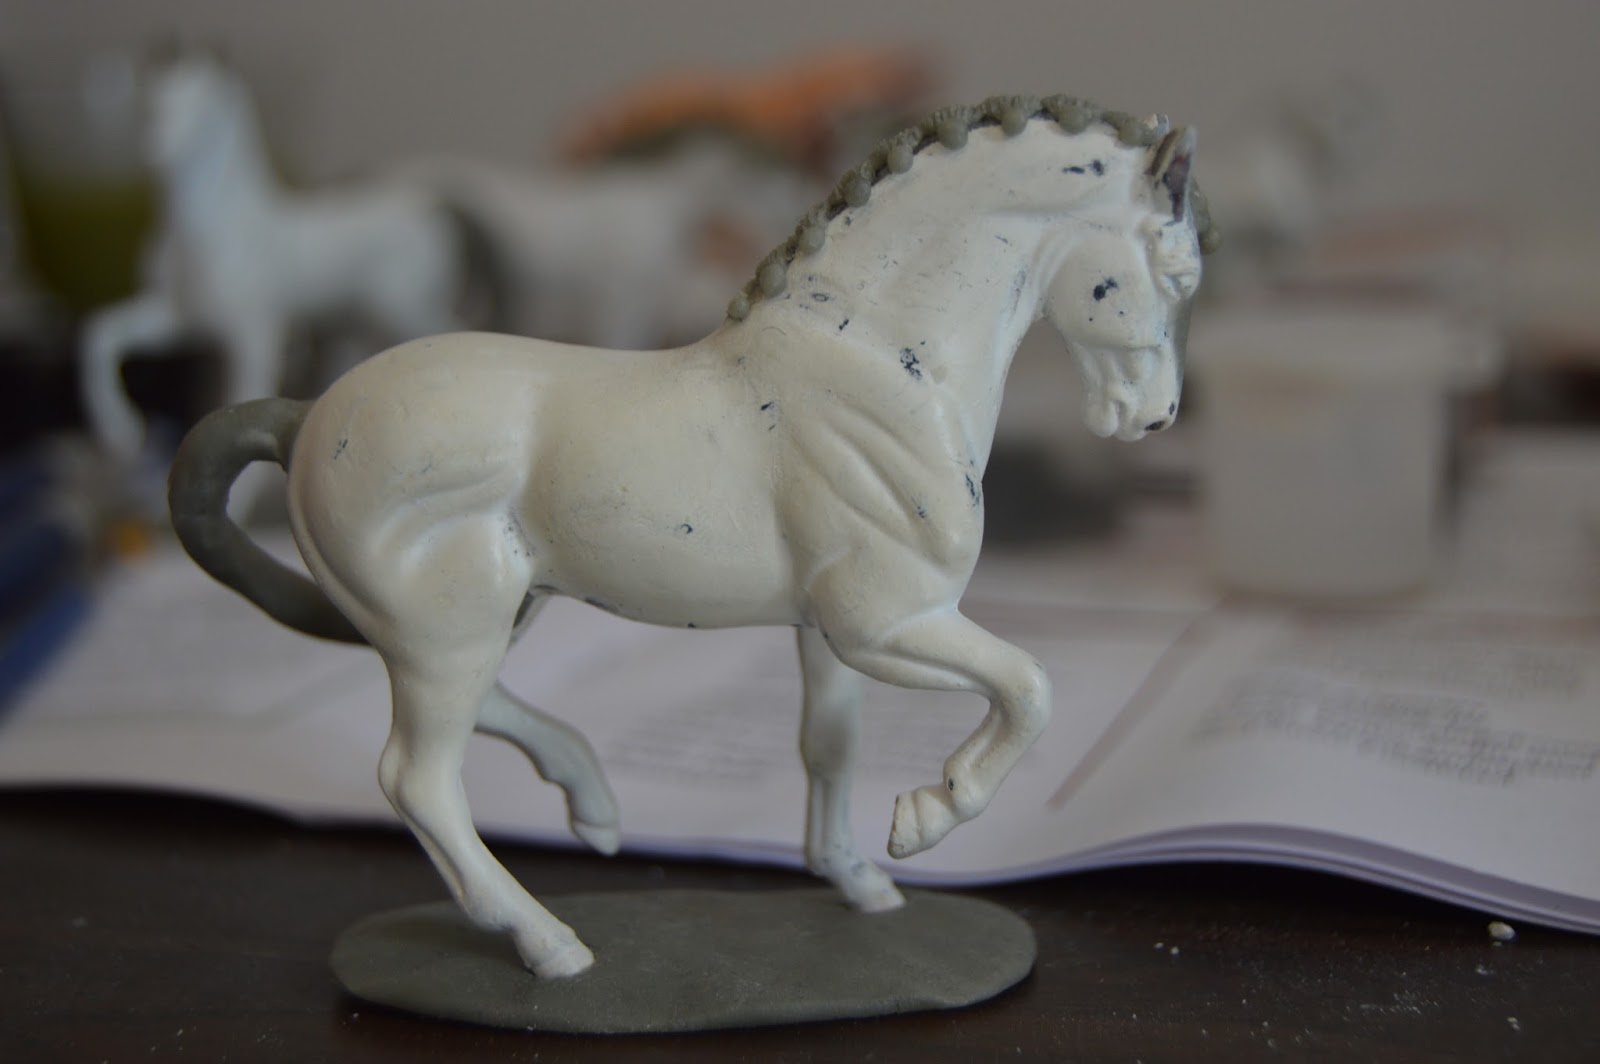
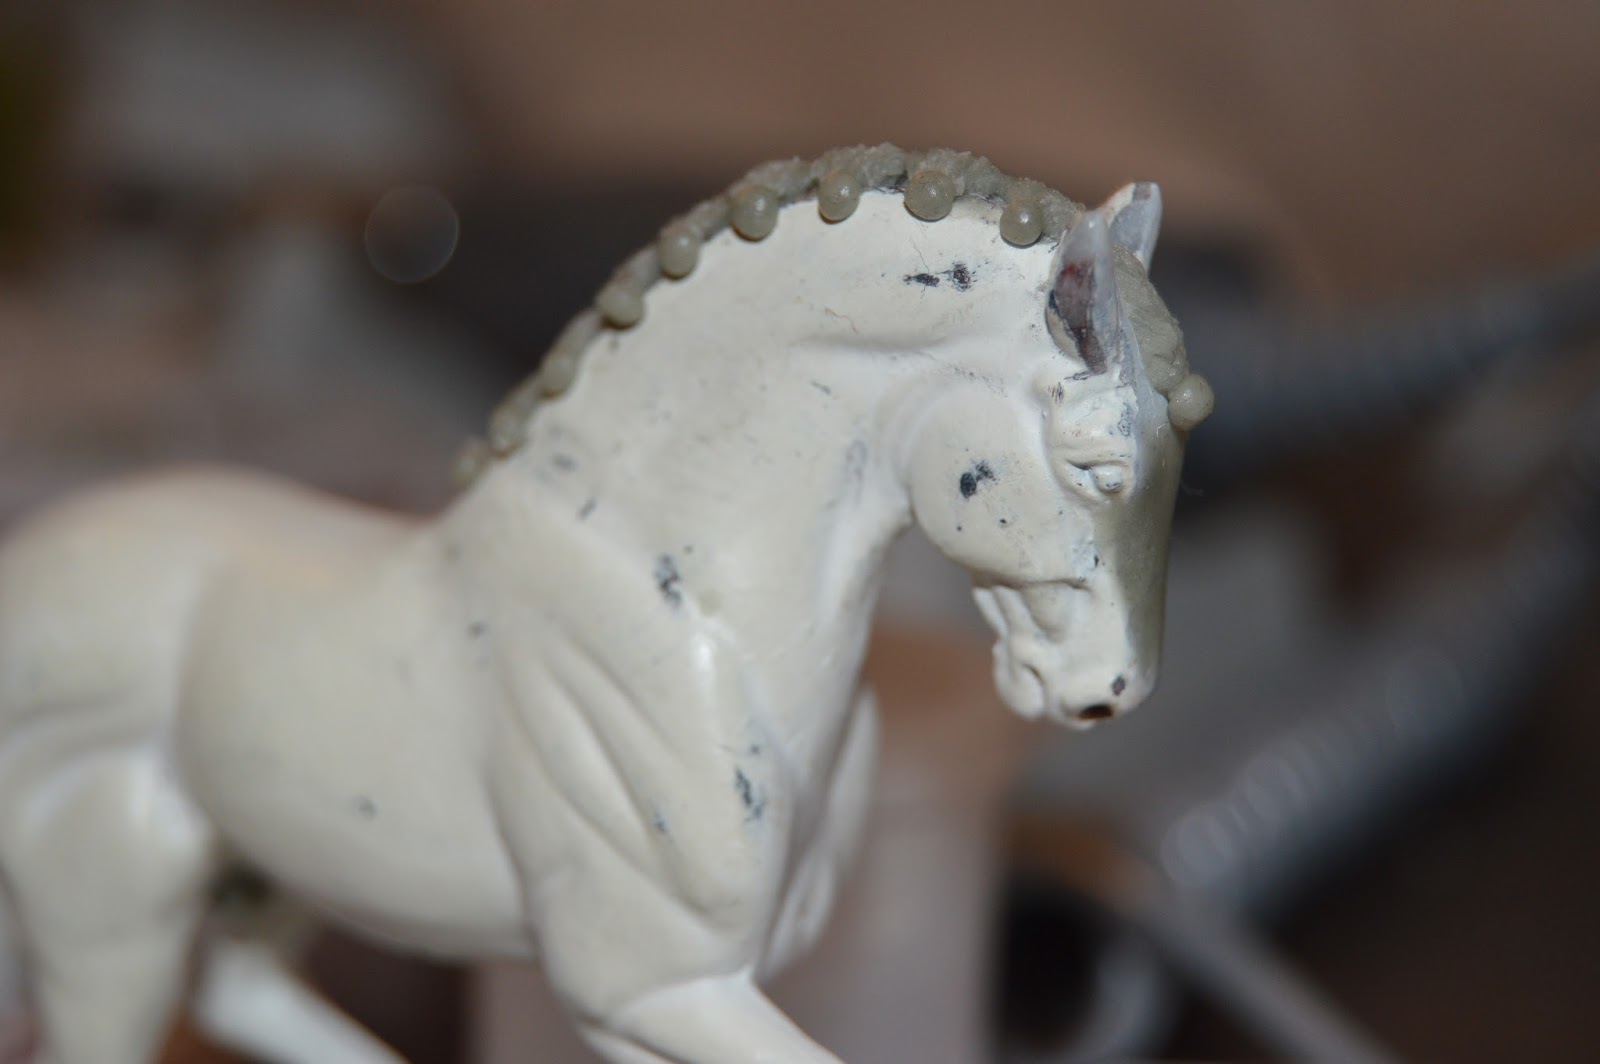
I'm sorry for the radio silence but I've been writing my bachelor's thesis and it has really taken it's toll on me. I haven't had time to work much with my models so today's update will just a few small progress pictures.


This girl named herself Amalthea and she is ready for primer. I pictured her as a grey but right now she's telling me she might want to be flaxen liver chestnut...


This guy is primed once but needs a few more layers.


This girl needs more work on her tail.


So does this guy...


And definitely this guy too. I am probably not using the best method for sculpting tails but trial and error really helps you improve :)


I just had to post another picture of this guy. I have never been a huge fan of the G2 Andalusian but if I manage to get the paint right in this guy I think he will be a beauty as I really like him already :)

The bachelor's thesis is to be due within two weeks so after that I hope to get some more work done on these and be able to blog a bit more often again :)

Wednesday, April 20, 2016

The Story Behind The Model

When I started out in this hobby and joined the Swedish Model Horse Society I saw a picture on the webpage of a North Light New Forest in chestnut and I kind of fell for the mold. A year or so later I saw an ad in the Swedish Model Horse Society's magazine for Epsilon, a grey North Light New Forest. I emailed the owner with a bid on him.


I didn't have much money back then and I would consider the bid a little low but I thought, why not give it a try. I was so excited when the seller accepted the bid. But she had a few conditions. He was not to be used as a body and she wanted me to contact her if I considered selling him. Lastly she wanted his pedigree to come with him.

Best Novice-owned Pony at a live show
These were no hard conditions as I wanted the model to stay that colour and as I was into pedigree assignment I was happy to take his pedigree as well.

Champion Pony at a liveshow
When he arrived I was thrilled! He was even more beautiful than the pictures showed! And he came with his pedigree, show photos, my first ever Swedish Nationals qualification card and a LONG show record! (I believe it was atleast 3 or 4 pages, of small handwriting in a computer-made table). I still have all of his papers in a box where I keep most of my model-related papers.


Epsilon is a joy in my collection and I really like him. He's kept on doing well at shows under my ownership and some older hobbyist here in Sweden actually remembers him from when he was shown by his former owner. This is a model I would have a hard time parting with as there is just something about him that is so loveable! Even my mother (who usually don't like greys (model or real)) likes this guy!

Wednesday, April 6, 2016

Beginning of the tails

This is my first time sculpting tails from scratch so we'll see how they will turn out when done. I needed an armature to sculpt the tail around so I found some rather thin steel-wire, pliers, a wire cutter, a lighter and a candle.

I wasn't quite sure on how to attach the tail to the horse but the baking soda and superglue method seemed like a good idea. Only problem was I have neither and I didn't really have an opportunity to buy it so I had to do it some other way.

I twisted the wire so that it would be sturdier and I told myself that the apoxie would stick better to the wire if it was twisted. I then lit the candle and held the twisted wire with the pliers over the candle until it was warm. I then pushed it into the backend of my poor model where I wanted the tail to sit. 


I had some stupid idea that I was going to try and bend the wire a bit after I had attached it. Stupid idea since the wire was still quite hot... Oh well, at least I learnt not to try that again :) 

So instead I let the wire sit until cooled (by then the plastic around the tail had cooled too) and the tail  seemed to sit quite secure.


I then used a few reference photos to help me get the wire in the right position for the tail I was after. When the wire was in the right position I strengthened the attachment with some apoxie, as seen in the pictures. 


I used pretty much the same technique for the paso mare but used a much shorter piece of twisted wire and warmed one end to push into the tail and the other end to push into her bum. I had to be careful while warming up the wire after I had attached it to the tail so I wouldn't melt the plastic on the tail. I put some apoxie to the gap between the bum and the tail to strengthen the attachment.


Unfortunately I noticed that the apoxie had cracked a bit when I unpacked her back at uni so I guess that I have to sand it off and do it again...

Oh well, at least I can start sculpting tails for the rest of them :)

Thursday, March 31, 2016

Excitement!

About half an hour or so ago the Copperfox Model Horses Shop opened for pre-ordering of the new Copperfox models!

I have anxiously been waiting for this as I am really interested in this brand of model horses from what I have seen in pictures (I have yet to see them in person). There where several of the models that I would've loved to have Cadno, Fabio and Sovereign where high up on the list (even though I wouldn't mind owning one of each of the 11 models!). Bertie was also one I really liked but he is only available at the tour events.

Anyway I had a hard decision ahead of me as I could only afford one model.

I followed my heart and decided to order Finnigan! He was the first one I saw and as I adore chestnut horses (and warmbloods) I think that my mind was set from the beginning :) I have yet to see an OF model horse with my preferred shade of chestnut but Finnigan is looking VERY promising and I can't wait to see him in hand!

I am beyond exciting to have one of these models coming as I see so many options for him! He will be shown in halter so I need to figure out a name for him and a colour scheme because I have plans (long-term :p) to show this guy in performance where I can see him in several classes, Show jumping, eventing, gymkhana, OH the possibilities! I can't wait :)


Old picture, just because I hate pictureless posts and because performance ideas!


Thursday, March 24, 2016

Brego

I got the chance to take out the mini Haggis I painted last year, to take some more "proper" photos as the only photos I have of him are bad and taken indoors in bad lightning. He also got himself a new name. He used to be called Brigand but the name never really struck me as being THE name for him (I just gave it to him as I was to show him and I can't stand showing models as "unnamed"). 


Lately I've been watching the Lord of the Rings trilogy over and over again or at least have had it on in the background while doing other things, like cleaning and studying (which reminds me, I actually passed the anesthesia exam!). And I got reminded of the name Brego. I think it's a beautiful name and it seems so regal (which I always thought about the big draft breeds like Clydesdales and Shires) so I think it suits him to a t. So from now on his name will be Brego.


A few more photos of Brego can be seen on my Facebook page. Which you should be able to access even if you don't have a facebook account :)

Monday, March 21, 2016

Study break

Anesthesia exam tomorrow or not I've studied so much the last days weeks that I decided to just do a small repetition round and then leave it. Wish me luck tomorrow, I will need it :)

Anyway I rewarded myself with some soothing sculpting work 


The Andalusian got his mane and forelock done (details to the braids will be done during prepping). Tail still to be done.


The Warmblood also got his mane and forelock done (details to the braids will be done during prepping). He is now ready for prepping and primer and then paint!


The to-be fjord got her mane today, inspired by this. And she also got her forelock done.


Here is the entire gang! (I apologize for the messy desk). I now have 3 tails to sculpt, one tail to attach and then it's on to prepping and priming :)

Friday, March 18, 2016

My barn

Seeing all the model barns pop up in my blogfeed a while ago makes me want one too!

I do have a barn but it was never made for my Breyers. My grandfather made it for me when I was younger and collected Grand Champions, so it's actually made for them (which makes it too small for traditional size Breyers).

My grandfather suffered from ALS and my mother asked him if he could make a really simple barn for me (partly because I wanted one and partly because he needed something he could do to pass time during the days as he, due to an older injury, couldn't work). The thing is my grandfather kind of left the "simple" part out. I had imagined 4 walls and two stalls. Well, i got that, and so much more!

Unfortunately I don't have any good pictures of it so these will have to do. When I get it out (which probably won't be for a while yet) I'll take some better pictures of it! Because it is really wonderful and detailed

Imperia in front of the stable

The barn features working double doors on one side and a working, single door at the other side. The outside is made out of square pieces of wood that my grandfather carved to make them more rounded, to give it an old, rustic look (almost like a log house-look). It also has a working "door" from the outside into the hayloft (at the same side as the double doors).

Fuego in one of the stalls

He also gave it a removable roof and a removable hayloft with an opening for the stairs. The hayloft is not seen in the picture above because, if I remember correctly, Fuego got a tad to tall to have it on when taking this photo.

Butterfly in one of the stalls
The barn features two stalls and a small storage space (the storage space is on the other side of the whole stall wall which you see in the picture below). Both of the stalls feature working stall doors and wall-mounted cribs. The stalls also have one small window each. There is also two windows on the opposite side.

Question outside the stalls
Outside the stalls there is room to tie up a horse and there are also stairs to the hayloft. And the space under the stairs are perfect for storing boxes or maybe lockers with equipment or tack.


Zahrat and Sadeek in the stall

Between the two stalls my grandfather even made bars so that the horses can see, but not hurt each other.

A quick, not in scale sketch I did of the lay out to give you a better overview than my less then optimal photos.
My grandfather didn't stop at just the stable. He made me a mini stable, for my small grand champions (about the sizes of Breyer's Micro minis). It was not as detailed as the big one but it features a lot of stalls, all with working doors, working doors and a removable roof. And besides that he also made several smaller things to go with the barn (the big one), he made me two pastures (I'm not sure these would be called small things) which would work great as a small pen for a horse that has been injured and are not allowed out with the others. He made a wheelbarrow, with a working wheel, a small doghouse, some smaller garden tools, like a hand rake, shovel and an axe. He also made me two wagons (one of them was a covered wagon kind of like these).

My grandfather is not with us anymore but I will always remember him and appreciate all of the things he made for me. And I bet that if he would've still been with us when I discovered the model horse hobby he would've been my "partner in crime" creating different kinds of jumps and props!