Monday, February 26, 2018

I DID IT!

I am so happy to be able to write this post! I DID IT! I couldn't be more excited! My NaMoPaiMo horse is done, and I love him!

I can barely believe that the model that started out like this:

This is what the poor boy started out as.
Is the same model that I managed to turn into this:

Pardon the pictures the lighting is really bad this evening and I wanted to take some pretty shots of him.
I definitely had my doubts along the way but thanks to the positivity and support of the NaMoPaiMo community I carried on. I had issues with grain on this guy but I think I managed to fix most of it thanks to tips and tricks from the NaMoPaiMo group. I also had some issues getting him out of the ugly stage but I managed to overcome that too.

Unfortunately camera battery died so I didn't get that many chances.
 He turned out pretty much the way I wanted him too so I am very happy with him. He might not be perfect but he has taught me a lot and no matter what, he at least looks far better than when I bought him!

So this is, for now, the most accurate finished picture I have of him! I will get more when time and lighting permits but that might not be until this weekend. 
 Now to find a decent name for him!

Friday, February 23, 2018

Last details

I am starting to get down to the details now! I might actually finish in time this year 😊

Second layer of acrylics on mane and tail.

Shaded the mane and tail and added the grey details, like around the mouth and the chestnuts that I almost forgot!

I even got started on the eyes!
I still have to finish his hooves, eyes and pinking, but these will be the last in progress pictures I will show of this guy! So next time you'll see him, he will be finished! 😊

Thursday, February 22, 2018

Markings

My horse will have high whites on his legs and a big white blaze. It will take several layers to get there but at least I've gotten started!

First layer of whites.

Second layer of whites. And blocked in tail because I got impatient 😊

7th layer of whites and I now consider them finished.
I am surprised at how good it looks with only seven layers and the whites are quite smooth so it definitely went faster than I thought!

Monday, February 19, 2018

Last layers of pastels!

I never thought I'd come to this stage but finally I've managed to finish the final layers of pastels on the body of my horse!

Layer 24: Shading. Dark brown pastels. 
Layer 25: Shading. Dark brown pastels.


Layer 26: Light brown/raw sienna pastels to blend the topline into the body colour and tame the grain.
I tried a tip I found on the NaMoPaiMo facebook page. I used a lighter colour on top of a darker colour to get rid of grain. It worked like a charm! I will absolutely use this on future models as well!

Layer 27: Yellow ochre pastels along the lightest areas and some muscles. Light brown/raw sienna pastels to blend the topline into the body colour and tame the grain.

Layer 28: Yellow ochre pastels along the lightest areas and some muscles. Dark brown pastels along the topline, light brown pastels to blend the topline into the body colour.

Layer 29: Dark brown pastels along the topline, light brown pastels to blend the topline into the body colour.
I am finally happy with the body colour and shading of my model so when the sealer is dry I will get to start on his white markings! 😊

Sunday, February 18, 2018

Is there no end to all these layers?!

I will definitely try to invest in some earth pigments, pigments or better pastels in the nearest future as I am starting to get fed up with all these layers! I've seen people who use better pastels/pigments have similar results to my current progress in pretty much half the layers...

Atleast I'm starting to think he is going in the right direction 😊

Layer 16: Brown pastels.
Layer 17: Brown pastels


Layer 18: Brown + dark brown pastels.

Layer 19: Shading. Brown + dark brown pastels.

Layer 20: Shading. Brown + dark brown pastels.

Layer 21: Shading. Brown + more dark brown pastels.

Layer 22: Shading. Brown + more dark brown pastels.

Layer 23:  Shading. Little amount of brown + more dark brown pastels.
There are still more layers needed but I hope I don't have to many left!

Wednesday, February 14, 2018

Even more layers

The downside to working with cheap pastels is that it'll take A LOT of layers to get you anywhere and progress is really, really slow.

Tenth layer: Pastels, terracotta. 
Eleventh layer: Pastels, terracotta.


 I've started to try and get my model out of the cheeto stage but it's not going too well at the moment.

Twelfth layer: Pastels, terracota + raw sienna
I've also had to fight quite a bit of grain during the later layers.

Thirteenth layer: Pastels, terracotta + raw sienna
He actually looks quite a bit better in the pictures than in person which is kind of frustrating...

Fourteenth layer: Pastels, terracotta + raw sienna + darker brown

Fifteenth layer: Pastels, terracotta + raw sienna + more darker brown
My goal is to have all the pastel work done by the end of next week in order to give me enough time to do the finishing details but from what it looks like at the moment, I have quite some way to go if I want to make that work.

Friday, February 9, 2018

Mustang mare

Yesterday a package with model horses arrived at our doorstep! Unfortunately, only two small things were for me. The other things in the box were things for my boyfriend's performance setup.

I am, however, very happy with my new addition:


This is Luna, a grulla mustang mare. She is from CollectA and I've been after this girl for a while. She's super cute and I plan to keep her OF.


The other thing in the box that were for me was a small package of apoxie as most of mine went into my NaMoPaiMo models tail.

Thursday, February 8, 2018

Layers upon layers

I've done a few more layers on my NaMoPaiMo horse and this is his progress so far:

Fifth layer: Pastels, ochre with a small amount of terracotta.
Sixth layer: Pastels, ochre with a tad more terracotta than last layer.

Seventh layer: Pastels, terracotta

Eighth layer: Pastels, terracotta 

Ninth layer: Pastels, terracotta
I will be away during the weekend so he won't have much progress this weekend but at least finally he starts to go in the intended direction! 😊

Tuesday, February 6, 2018

Progress pics - layer by layer

I've decided to document my NaMoPaiMo model for this year layer by layer so that I can really see his progress (and keep track of what colours I've used).

So I thought I'd share:

First layer of pastels, ochra

Second layer: First layer of eyeshadow, light shimmery cream colour.

Third layer: Pastels, ochra
Fourth layer: Pastels, ochra
That's all for today, hopefully I'll get some more layers done tomorrow 😊.

Monday, February 5, 2018

First layers!

I put the last layer of primer on my NaMoPaiMo horse on Saturday afternoon and since I really want this guy to turn out good I really wanted to wait until I was sure the primer was dry (24 hours). That meant that I couldn't start painting my horse until about 4 pm Sunday afternoon.

The wait, OH the wait! I've been looking forward to start on this guy for quite some time now and having 2 whole days off (more like one and a half due to some chores but still) and not being able to paint my model was quite annoying. I had to do something and so I started on my 5 side projects. They all got their first layer of pastels and then I could finally(!) start my NaMoPaiMo horse!

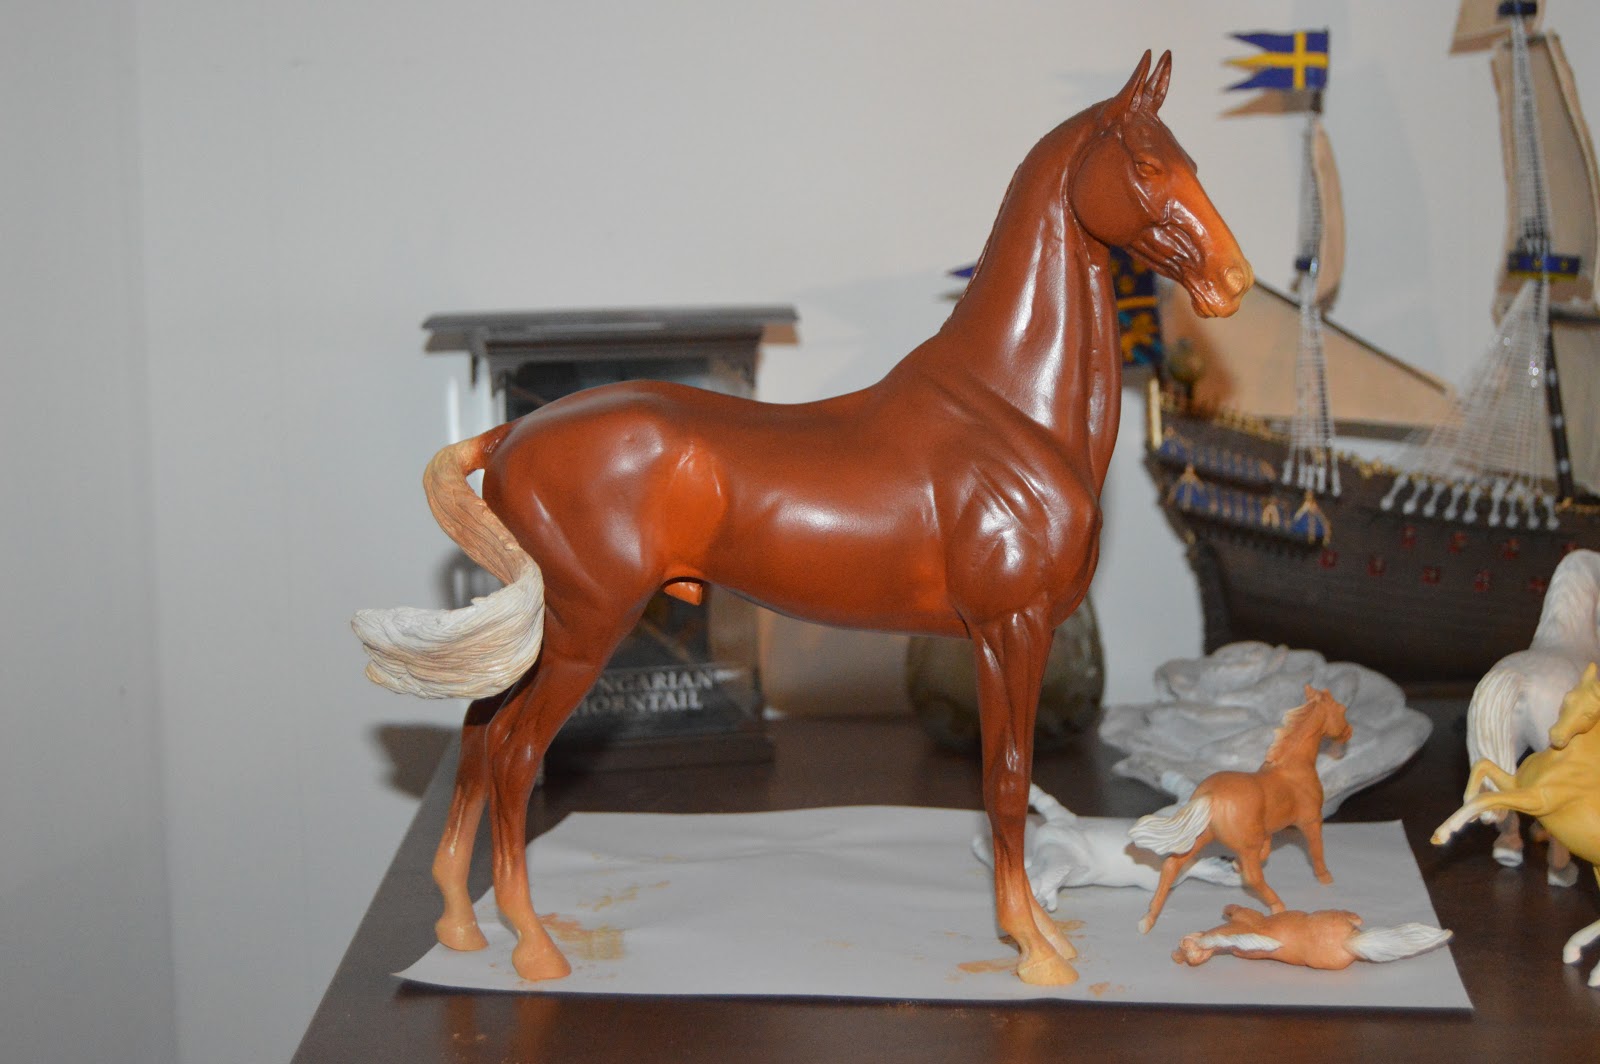
First layer of acrylics.
 It was quite the struggle to paint this large horse and I'm not sure what to hold onto while painting. For now, I've tried the back legs and trying to have it standing on the table while painting but that was quite uncomfortable and I probably looked really stupid trying to paint his belly and inside of the back legs while he was standing on the living room table 😉.

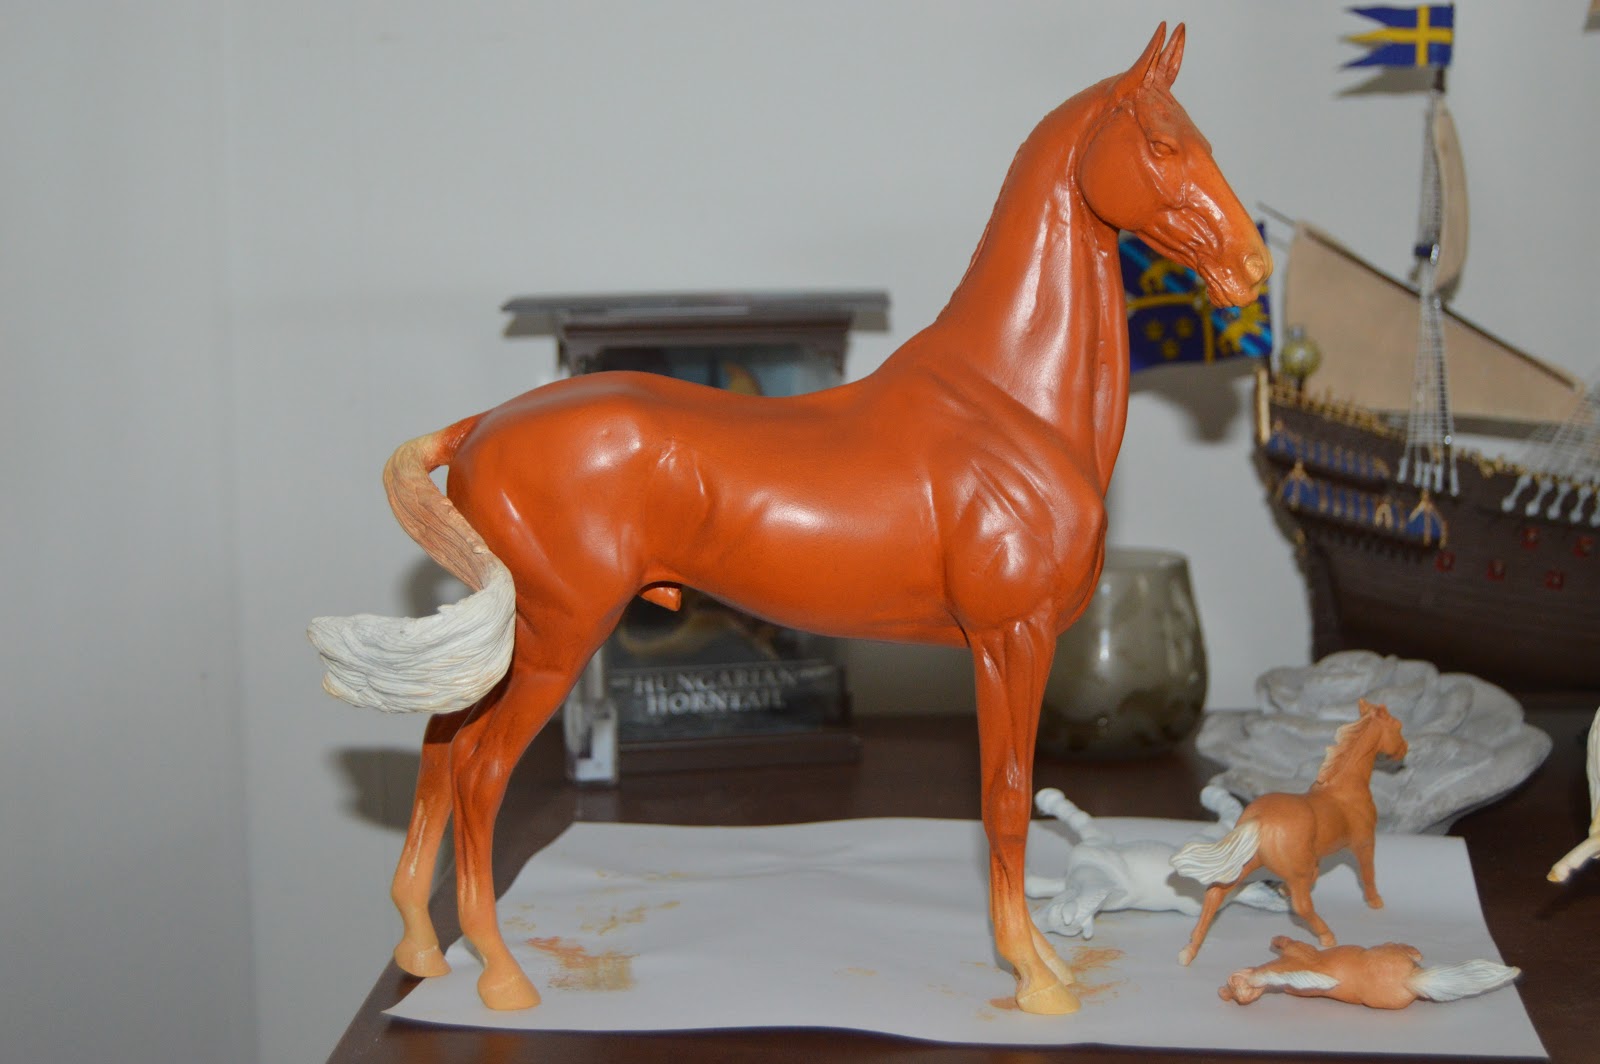
Second layer of acrylics.
 With the second layer I think we are ready to start with pastels today but I'll have to take a closer look at him in daylight before I decide. The basecoat is a mix of white, yellow ochre and some gold paint. I hoped that the gold paint would add some shimmer to the coat but that doesn't seem to be the case.

My NaMoPaiMo model and my sideprojects!
All the sideprojects has gotten their first layer of pastels. They will be (left to right) dapple grey, dark bay, golden chestnut sabino, buckskin sabino and chestnut tobiano. Hopefully I'll be able to finish all of them in February but we'll see what happens.

Sunday, February 4, 2018

Round and round we go

It kind of feels like I am running in circles with my NaMoPaiMo model. I prep and sand, thinks that I might be finished and gives him a spray of primer.

Just to realize more areas that need work...


I sand and fix the areas I've found, give him a bath, let him dry and gives him another coat of primer.

And yet again I find some other areas that need work.... Sigh... I have lost count on how many rounds of this I've done... I thought I was done with this several days ago...

But by now I am done and he's had his last layer of primer on so I will start painting later today.

I barely recognize him from when he came to me! But I've but a whole lot of hours into him already and I don't think I've ever sanded this much on a model! 

When I recieved him.
What he looks like now (pardon the waterdrops he just had his final bath)
Can't wait to get some paint on this guy and hope I can do him justice!