Wednesday, February 10, 2016

Copperfox 10 Day Challenge Day 3: Be a Model Horse

Challenge Day 3: "Imagine yourself as a model horse. What colour would you be? What mould would you be created on? What scale?"

This is one of the challenges that I was really looking forward to! I wouldn't consider this a hard challenge since I have given it some thought, but I think it will be fun!

So if I were a model horse what would I be... 

When it comes to looks I'm not too tall (171 cm to be exact), pretty normal weight for my height ( maybe one or two kilos over). My hair is a little longer than shoulder length, I'm a natural redhead but nowadays my hair is almost bordering copper blonde (naturally) and curly/wavy (depending on if I brush it or not). My skin is really pale and my eyes are blue.

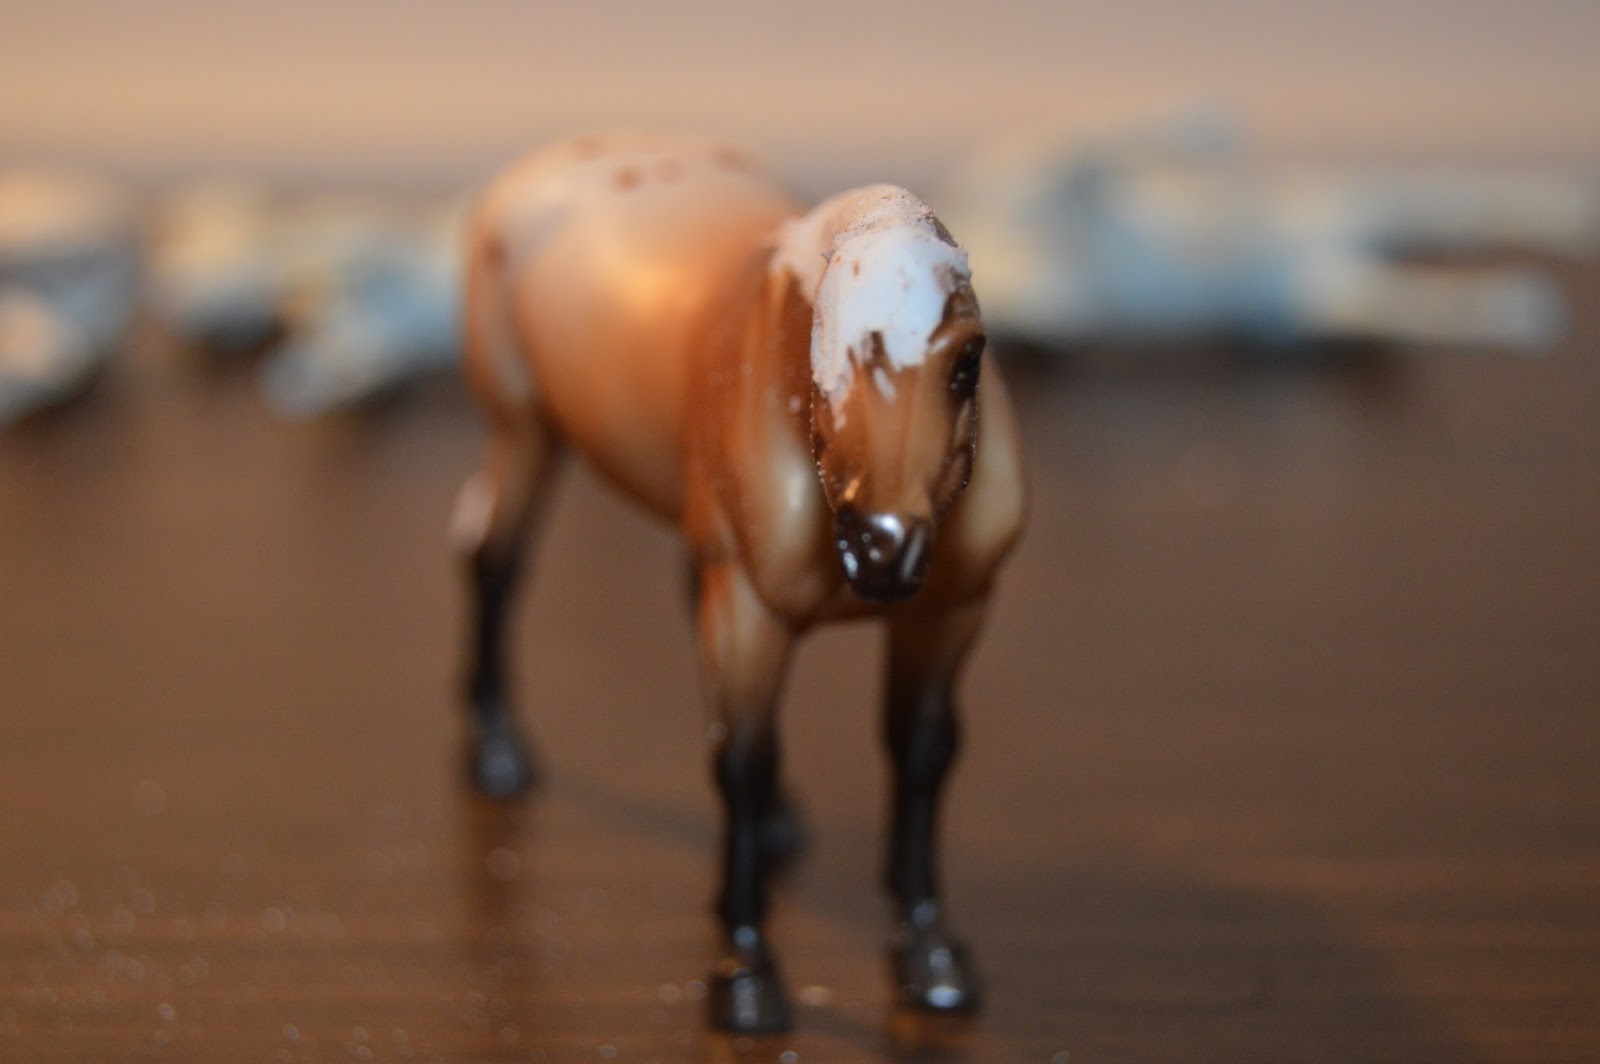
Maybe a blaze kind of like this one but with blue eyes.

Personality-wise I'm often quite relaxed and analyzing but I do have quite the temper hidden in there too :)


I adore this shade of chestnut but it might be a tad too read to represent me
So, done analyzing myself, let's get to the model horse part!

Because of my looks I see my self as an average woman so I'd probably go for a model of some kind of Warmblood breed (might be a bit biased because they are one of my favourites, I should probably be a donkey because I'm so freaking stubborn :) ) as for colour I'd probably be a rose grey (very white body and red mane) or a chestnut with a lot of white, probably overo or splash to get the blue eyes in there too.


Sorry couldn't find any pictures in my archives for a really rose grey horse but I'm thinking something like the first ones of my quick google search.

As for scale I would be a traditional! I like to be seen and takes up quite a bit of space, when I choose to, at least. So I'd make a good overo too :)


As for what model I would be portrayed on I think something serene like Eberl Genoveva or Eberl Elsa would fit me quite well. But if I were to be portrayed during one of my more temperamental moments I think Sadie Shoo Fly would fit a lot better :)


Belize
So my dear Belize is probably the closest I have to a "model horse me".

Tuesday, February 9, 2016

Copperfox 10 Day Challenge Day 2: Name your model or barn

Challenge Day 2: "Have a go at naming the most recent addition to your herd by giving them a show name, stable name and pet name. As further ideas, why not do the same for your barn or stable yard and then make a barn tour video?"


I'm quite good at naming my models and stuff surrounding them (like riders, animals etc.) so today's challenge was a bit harder for me. I don't have a barn-setup (yet!) so I can't make a barn tour video but I do have some models in need of names, I'm not much for the stable name/pet name thing for my models (I have so many I don't need more names to keep track of :) ). So my models usually only have show names.


Valegro is my newest addition and he already got a name, his name is Fandango.


Among the models I got before Valegro this little cute foal is the only one without a name. The name Petite just popped up in my head while brushing my teeth and I think it suits her.


This poor guy has been nameless for a long, long time. I called him Impulse because he was an impulse buy but the name just don't suit him. I thought about naming him Maverick which at first didn't seem to fit him at all but the more I thought about it the more I liked it so this is Maverick aka Impulse.

When it comes to my barn it has changed names a few times since I began collecting, The first one I remember (I know I had one before that but it's a long time ago) stuck with me for quite a while, it was Red Flower Stables. I can't for the life of me remember where the name came from but I used it for several years. Then I experimented a bit with Sunhill Stables but later decided to go with TiMe Stables which is also the current name of my barn. I still use Sunhill Stables a bit (for my Warmbloods) since the names is a direct translation from the name of the farm my grandparents owned and it means a lot to me.


Monday, February 8, 2016

Copperfox 10 Day Challenge Day 1: Inspiration Day

I found out about the Copperfox 10 day Challenge a few days ago when they started to pop up in my blog feed and thought that I would like to do that too!

So I'm a little late in joining the party, but better late then never :)

Challenge Day 1: "An easy start to our challenge! Find something that inspires you. It could be a picture of an unusual colour of horse that you would like to turn into a model, a how-to tutorial video or a piece in your favourite magazine about collecting things that you love. Or it could be a song, film, piece of poetry- whatever it is, find something that gets your creativity going!"

My biggest inspirations in the model horse hobby (and life in general) are the animals and nature around me, 


When it comes to models I also have several model horse people and non-model horse related people who inspires me. 

When it comes to remakers/repainters/sculptors some of the ones that inspire me most are (in no particular order):
Brigitte Eberl - I absolutely adore her sculptures, mostly the Warmbloods but also the Spanish, the ponies and the Arabians are among my favourites.
Sarah Rose - Her sculptures are lifelike and beautiful with so much life in them.
Josine Vingerling - I like her sculptures but what inspires me the most with her is her absolutely AMAZING dapple greys and pictures on the beach. I'd love to own one of her dapple greys one day.
Sommer Prosser - I like Sommer's sculptures but her paintjobs are what I find most inspiring! Her chestnut models are some of the best in my opinion. Would love to own a model painted by her one day.
Sue Kern - Makes really cool customs! Always fun to see what she can make out of an "ordinary" model.
Deb Brown - Love her paintwork, especially her chestnuts! I am a huge fan of chestnut horses and Deb does them so well.
Sophie Nordström - A Swedish artist who have done several of my customs and painted some of my artist resins. Love her bays!
Tiffany Purdy - Makes beautiful customs and I love the flaxen chestnut colour she does so well and her Warmblood customs.
Laura Skillern - Does awesome customs and I love to follow how they progress from hacked to pieces into beautiful and lifelike creations!


Model horse related blogs that I find inspiring:
Last Alliance Studios - I love her setting and posts about making miniature things for the yard/people. Inspires me to make my own yard!
Braymere Custom Saddlery - Always post interesting posts, whether it is pictures of horses, nature or model horse related posts it is always a joy to read! 
Don't Eat The Paint - Great customizing tips and tricks!

Shoestring Stable - Great DIY's and tips and tricks!
Desktop Stables - Makes really cool accessories for models and has really cool tutorials!


Non-model horse related inspiration:
Kerri Pajutee - Makes the most adorable and lifelike 1:12 scale animals I have EVER seen!
AkameruKawaii - Makes miniatures from fabric, polymer clay and resin, that can be used in scenes or around the yard.

SugarCharmShop - Makes miniatures and miniature food that looks extremely real. Mostly in polymer clay but sometimes fabric and other materials too.
MyFroggyStuff - Make sets and stuff for dolls out of ordinary stuff you usually have laying around the house. Inspires me to look at regular things just laying around in a different light and see the potential to make something fun out of simple things!


I'm not sure if this was an "easy" start of the challenge ;) Or maybe I just have too many sources of inspiration (is that even a possibility?).
Thank you all for inspiring me to be involved and evolve in this hobby! :)

Friday, February 5, 2016

First coat of primer

This is how the models look after the session I had on Sunday.

I managed to sand down the areas I could see needed it with good old sandpaper (I used 320, 400 and 1200 grit). Unfortunately I forget to time myself but I think it took approximately 10 minutes each with sanding and priming since I've done a lot of prepping work with the electrical file it was mostly smoothing of those areas that were needed. Then it was time to put the first layer of primer on.


No, my primer is not glossy. It's just not dry since I took the pictures right after priming :) They do need at least 1 or 2 more coats of primer but I can already see some imperfections that needs to be taken care of.

I might also have an idea for the Paso Mare:


The tail is originally from the Morgan but I happened to put her right beside it when I was prepping and just thought that it could fit her. I'm thinking something like a white "fairytale" horse. Not sure about the breed though. Might make her a unicorn or something :)

Monday, February 1, 2016

Session one and a half

I got a little time to work on my models this weekend just as I hoped. So now I've managed to start on all of them! :)

This is what I managed to do Saturday:

This was the first session for the Morgan and he got his logo, genitalia and ears removed. As well as his mane and tail. I also carved out his raised hooves a tiny bit.

This guy will (hopefully) be a hackney. He will have new, forward ears, braided mane and short or long, thin tail. And I think I'll turn him into a gelding. He will also get a base.

Time spent on the Morgan so far: 36 minutes

The Andalusian had his second session today and it was only a very short one in order to remove his genitalia and carve out his ears, nostrils and hooves a tiny bit more.

Coming along nicely, will get a base so that he'll be able to stand.


Time spent on the Andalusian so far: 46 minutes

The Paso also had her second session today and it was also a short one, I just removed her logo and left eye and carved out the nostrils and raised hooves a little more. I did also sand a bit on her ears to make them look more even and the neck to make it less bulky and I like it better already!

The plan for this girl is still a bit uncertain but she'll get a new eye, mane, tail and genitalia.


Time spent on the Paso so far: 41 minutes

When it comes to the Warmblood I still don't have a clear plan so his session today was short. I removed his mane, genitalia and ears as well as carved out his raised hooves. I kind of like his tail so he might get to keep it.

This guy will probably get a braided mane and new (probably forward) ears. I might turn him into a gelding.


Time spent on the Warmblood so far: 9 minutes

The Para-Dressage mare was made from a completely different plastic then the rest of the models I work on at the moment. It was harder which made the removal of the tail quite easy (it also helped that the tail was quite thin). I also removed the logo, mane, both the ears and her right eye.

This model will be turned into a fjordhorse with some cool cut mane and long tail, new ears and eye. I haven't yet decided what gender it will be but I think I'll save that for last and see what the model looks most like when I'm done with it!


Time spent on the Para-Dressage so far: 13 minutes

This poor little one looks terrible at the moment but hopefully it'll be fixed soon.


Next thing to do is to sand them by hand (I've only used the electrical file up until now) to make them smooth and try to remove any unevenness and rough spots that the electrical file might have made. Then I'll give them a coat of primer so that it'll be easier to see if they need more prepping but also to make it easier for me to see where I need to ad the Apoxie when sculpting.

Saturday, January 30, 2016

Making a paddock/arena base Part 1

I've had this idea of making a paddock/arena base to use for my photoshow photos and performance entries for quite a long time. A few months ago I finally got the last supplies and finally started to make it! :)


The things I used can be seen in the picture and listed below:

Cork pinboard 40cm x 60cm
Glue, I used a wood glue
Sand (I bought three bags) unfortunately I don't remember how much were in them
2 brushes (one for painting and one for the glue)
X-acto knife
White acrylic (or hobby) paint
Sticks to make a fence (the ones I used where one that where 1 cm x 1 cm x 100 cm and two that where 1 cm x 0,3 mm x 100 cm)
Something to measure with

Not pictured is sandpaper and cuttingboard (and I also had to get a bigger knife since I had no saw and the x-acto knife didn't quite cut it).

First of all I brought out a horse I had handy (which happened to be a big one, which was good so I could see that it would work for large models too), for me that was my unpainted Eberl Elsa. I just wanted to see that she would fit (since I've started to gather a nice little collection of large Eberl models *cough* Lohengrin *cough*). I decided that it would work.

¨
I then took my "gluebrush" and started brushing on glue on a square. I poured the sand over it but made sure I could still see the glue a little bit.


I then did another square of glue right next to the first. And sprinkled sand on top. I did that one more time and then I had covered half of the corkboard. The reason I brush the glue on in squares is so that it won't have time to dry out to much before I am done so I can sprinkle on the sand.


I followed the same steps for the other half of the corkboard and left it to dry with the sand still on top. When the glue was dry I put a big news paper under the short end of the board, tilted it and tapped of the excess sand. I realized that one layer wasn't giving me the coverage I wanted so I did another layer using the same technique on top of the first layer of sand.


In the picture below I've just finished the second layer and I'm waiting for it to dry so I can tap of the excess again. If I don't like the coverage I'll just have to make a third layer.


When everything was drying I started to measure the poles for the fence. I can't remember the measurements at the moment (and unfortunately I'm at uni so I can't look it up at the moment) but I cut 3 poles from the 1 cm x 1 cm x 100 cm stick in suitable length.


They were a little uneven in the ends as seen below since I snapped the last middle piece that I couldn't cut with my knife. It was an easy fix with some sandpaper.


That's all for now as I haven't come any further at the moment!

Monday, January 25, 2016

Progress!

I made some progress Wednesday.

The Andalusian has no mane, tail or forelock at the moment. I also hollowed out his ears, nostrils and raised hooves a tiny bit.


Time spent on Andalusian custom this far: 40 minutes

The Andalusian will have his genitalia removed and new sculpted as I can't stand the blobs he have at the moment. His profile might also need some straightening other than the regular filling in where needed and prepping. After that I'll start on his mane and tail.


He can't stand on his own without the tail (hence the apoxie jar) but he'll have a base when he is done.

The Paso mare has had her mane, tail and forelock removed and I hollowed out her ears, nostrils and raised hooves a tiny bit as well.


Time spent on Paso custom this far: 35 minutes

The Paso mare might have her ears removed as they are uneven! And her left eye is bothering me so I might remove that too. I also plan to do some work on her neck as it seems too big and bulky for my taste. I'm not sure about tucking her head so I'll try to work on her neck first and see how I like that. She will have genitalia sculpted and of course some regular filling and prepping before I'll start on her mane and tail.


The other horses are still in the same state as in the last post as I didn't have time to work on them Wednesday. Hopefully I'll have time to work on them during the weekend!