Sunday, March 29, 2015

Bodybox introduction 2.0

Not too much has happened with my bodybox content since you last saw them but I decided to introduce the individuals and ask for colour suggestions for some of them :)

Any name or breed suggestions are also greatly appreciated.


This little mare has no name or breed yet but she will be a palomino with white mohair mane and tail.


This little foal will be Dilkara (Rainbow) in my Silver Brumby Project and will therefore be a light palomino roan.


This little donkey foal was no name or colour idea yet, help greatly appreciated.


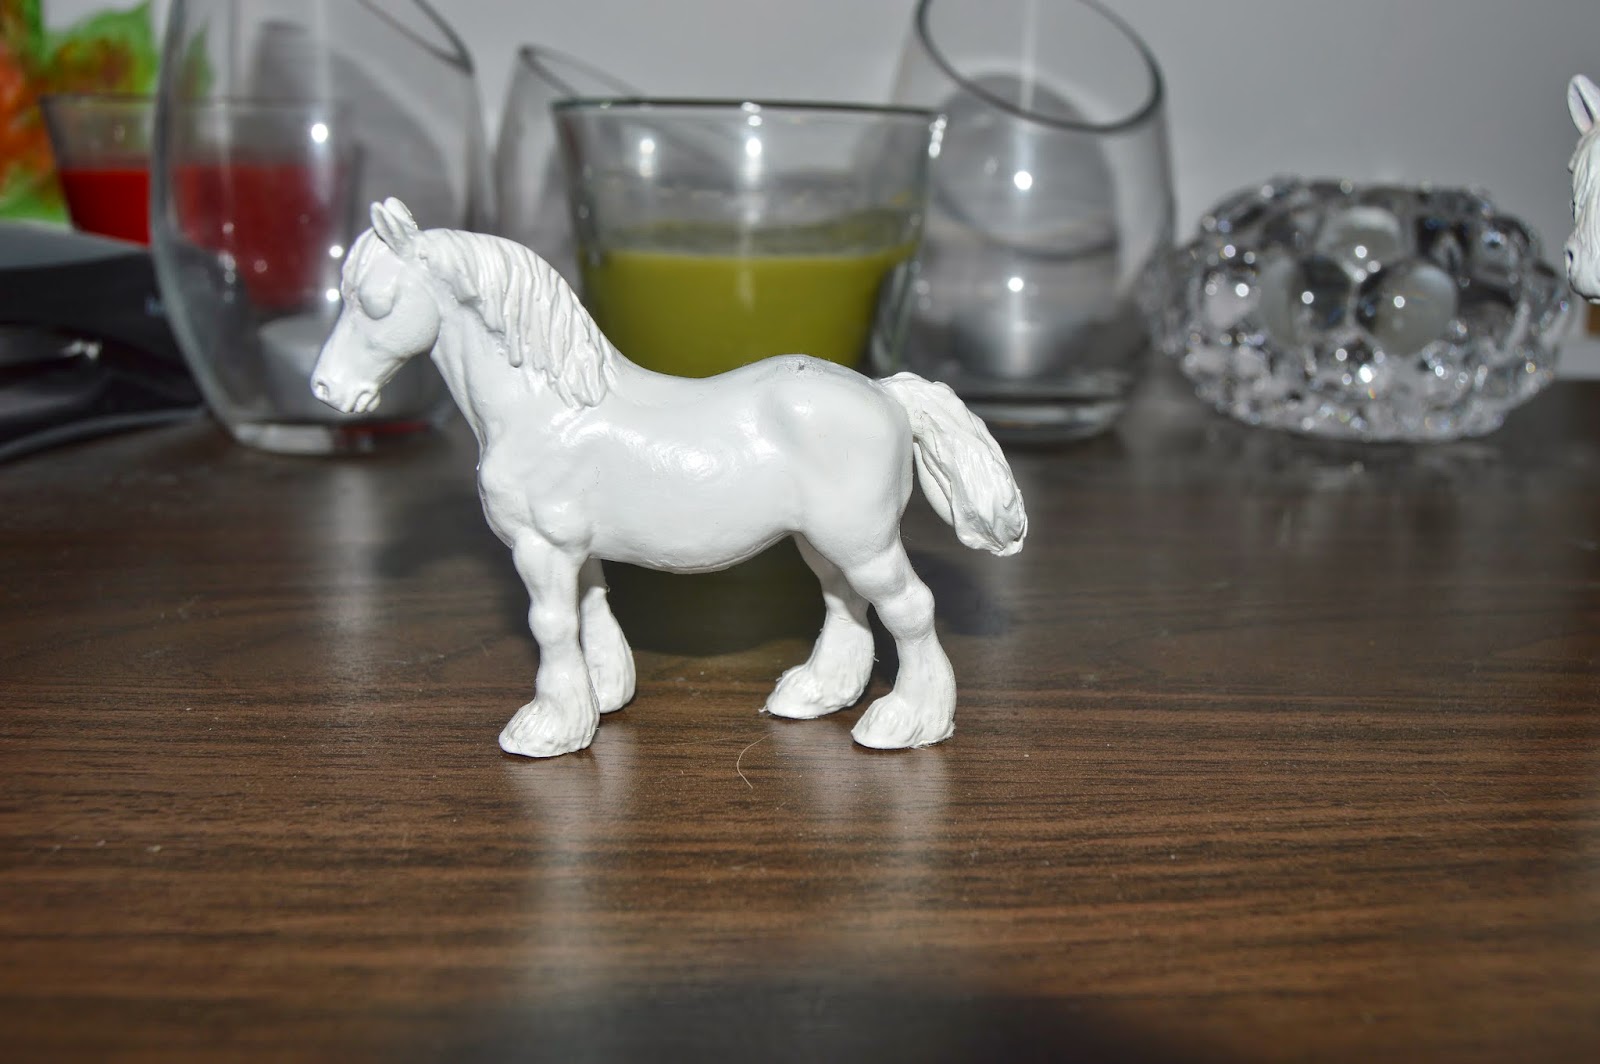
This is Brigand. He will probably be a Clydesdale but I can't decide on a colour for him.


This is Hjalmar and he will be black with some brown accents to portrait my late labrador/rottweiler/mastiff male. And he'll need a custom base for him to be able to stand on his own (hence the odd position on the candle).


This little baby has no name, breed or colour decided yet.


And the same with the mother, no colour, breed or name decided.


This girl will be a chocolate labrador but she has no name yet, although considering Melanie.


This little mare will probably be a chestnut splash paint when I've fixed her problem areas (ear and tail needs fixing)


Ofelia will be a flaxen chestnut grade pony mare with pink ribbons in her mane like a sweet children pony could have.


This mare is for my Saddle Club project and she will be a portrait of Prancer and that will also be her name.


This is Dimma, an Icelandic mare almost finished. She just needs her eyes, hooves and markings done.


This little guy has no name, breed or colour decided yet.


This is Unforgettable Gold, a thoroughbred stallion who needs an update.


This little mare will probably be a fjordmix and I haven't decided on a name or a colour yet, but some kind of dun.


Splinter in My Soul have been introduced before but he still needs some pinking in certain areas otherwise he's finished.


Lacoste needs his hoofs done better and eyes updated.


Adria have also been introduced before and she also needs some pinking in certain areas otherwise she's finished.


This guy will be for my Silver Brumby project and the plan is to give him a new mane and tail before painting him grey as a representation of Cloud from the books.


Thowra from the Silver Brumby books will be done on this little guy but he'll need to be reprimed as the primer crinkled in some areas for unknown reasons. But a light palomino is planned for him.


This girl needs an ear repair and some work done on a wonky front leg before she will be repainted but I think she will be a chestnut again.


Aeton Ibn Aemathion is an arabian stallion who will be flaxen liver chestnut and he needs some updates.


This mare is It's A Star a-to-be chestnut thoroughbred mare.


I think this one will be a dark bay mule but not completely sure (might throw in some fun whites, suggestions greatly appreciated) no name yet.


Strawberry Girl will be a dapple grey thoroughbred mare.


This little horsie will be a chestnut tovero paint but not sure on a name yet.


This mare will be updated and finished in a bay to be Nimble Thief, an old thoroughbred mare.


My G1 lying foal will be a portrait of the famous Zorse, Eclyse as a baby.


This little one will be a light palomino to portrait Kalina from the Silver Brumby books.


This girl is Sarab, my pure polish arabian mare who will need some updating.


Serenity will be a palomino morab mare.


Another G2 thoroughbred mare, this one will represent Highland Lass in my Silver Brumby project and she will be black.


Scent of Roses, a chestnut thoroughbred mare who needs a bit of an update.


Black Glitter N is a black thoroughbred stallion who needs his markings, eyes and hooves finished.

Like I said, suggestions are greatly appreciated and hopefully I'll be able to show you some progress soon :)


Monday, March 23, 2015

How to make model horse rosettes part 2

When you've chosen you're design and have all your materials ready it's time to get started. I began by cutting out 2 circles with my scissors. If I would've had any ribbons/rosettes here I would've measured them and scaled down to get a nice, in scale, size but as I don't have them here I had to eyeball it.

I cut one bigger circle for the back piece and one smaller for the centerpiece. My back piece was about 1 cm in diameter and my centerpiece was about 8 mm in diameter.


I then cut pieces of my ribbon a little more then double the length I want my ribbon pieces to be. I cut 7 pieces of the same length and two longer.

Then I began to glue four pieces in kind of a cross pattern onto the backpiece.


When they were dry I glued the last three pieces between the four I'd already glued and left one space empty.


In the empty space I glued the two longer pieces for the long ribbons.


When it's all dry a folded the shorter pieces and glued them to the middle, one by one (I did this clockwise). I kept an eye on the folded pieces so that they were somewhat equal in length.


I then glued the middle piece in place with a small dab of glue and put something heavy on it (I used a heavy candle-holder) to make sure it will stay in place and glue well. Lastly I cut the longer ribbons to size and cut out an arrow-shaped piece from the bottom. You might want to use some kind of fray check or a tiny amount of glue to keep your ribbon from unraveling.

My finished ribbons. The blue one is bigger than 1:9 scale but I thought it would be fun to try and make one out of that ribbon too.  

You can decorate the centerpiece to your liking before or after you've glued it on I drew a small horseshoe on mine after gluing them on. 

And that's how I made my ribbons. I will make more when I have time but I'll use my satin ribbon to get that real "show ribbon shine" and a better glue as I did not get along well with the one I had.

Friday, March 13, 2015

How to make model horse rosettes part 1: Research and materials

Since my rope halter tutorial has proven to be my most popular, and read, blog post I want to do another tutorial so I thought I'd try my hands at making model horse rosettes.

When making a rosette you first and foremost might want to consider what colour you want it to be. Of course you can make your rosette any colour you want for your purpose. But if you want to make rosette for an English setup or just for your barn it might be fun to have rosettes in your country's colours so doing a little research might be good if you don't know it already :)

I've done some research on colours in a few countries. I can't promise that these colours are the absolute correct ones but these are the ones I found when I did my research. Any way these colours aren't set in stone as they might vary with the type of show or the organizers preferences but these are relatively commonly seen from what I gathered when doing research.


Sweden
Norway
Netherlands
Australia
Canada
United States
U.K
First place
Blue and Yellow
Red, Blue and White
Orange
Blue
Red
Blue
Red
Second place
Blue
Red
Red
Red
Blue
Red
Blue
Third place
Yellow
Blue
White
White
White
Yellow
Yellow
Fourth place
Red
Green
Blue
Green
Yellow
White
Green
Fifth place
Green
Yellow

Yellow
Green
Pink
Pink
Sixth place
White


Brown
Pink
Green
Purple
Seventh place


Purple
Purple
Pale Green
Eight place


Brown
Brown
Tan
Ninth place


Orange
Grey
Brown
Tenth place


Mauve (light purple)
Light blue
Grey

For those countries that doesn't have colours beyond a certain placing they often use the colour of the last rosette, for example if you place seventh or lower you will be awarded a white rosette.

When you've chosen your colour or colours you need to decide on a design for your rosettes/ribbons. If you google show rosettes or show ribbons you will get a lot of pictures and can find a design to use for inspiration.

The materials I used:

Ribbon (I would've preferred to use my 3 mm satin ribbon but unfortunately they are packed away at my father's house where I keep my models so I can't get to it at the moment) 
Paper for the centerpiece and backpiece (sequins can probably be used as well and you can also use them to decorate the centerpiece)
Scissors
Glue


You don't need to types of glue or two pairs of scissors, I just couldn't decide which one to use :)
The ribbons I used was a 3 mm blue and yellow ribbon (it almost seems a little like grossgrain ribbon) and a 6 mm blue, patterned ribbon.

In the next part I will show you how I made my rosettes/ribbons.

Tuesday, March 3, 2015

Colour Formula Cards

For Valentine's Day a mod on the Fallen Leaves Forum held a giveaway for the members. I entered for a set of colour cards described as; set of color cards - formulas for painting various colors and patterns of horses and a custom horse. I couldn't believe my luck when my name was drawn for the colour cards as I thought that they might be a good help with my painting and colour mixing (as I have a tendency to stick to the same shades of colours).

Today the colour cards arrived.


It was quite a bunch of cards:


With formulas for several shades of grulla, grey, dun, bay, buckskin, chestnut and palomino.


I'm really excited and need to find some time to try these out as I think they can be quite helpful :)

I'm also really thankful for Elise, who held the giveaway.